Here is what the dough hook for the mixer and dough blade for the food processor look like.

I was lucky enough to get a Kitchen Aid Mixer as a wedding gift, 19 years ago. I inherited a Cuisinart Food Processor from my husband's step-mother. I see mixers with dough hooks and food processors with dough blades at Goodwill all the time. If you don't have one, you can knead the dough by hand. That takes about 10 to 15 minutes, depending on the dough recipe.
The other helpful thing to have is either a glass or a silicone bread pan. These can be put into the microwave for the second rise. I picked up a silicone one at Goodwill for $.99.

A basic white bread recipe will take about 1 hour, from start to finish. Some whole grain recipes will take longer to rise and bake, just because the dough is heavier. Those doughs can take an additional half hour, or so.
The bread I made here is a basic white bread recipe from the Fanny Farmer Cookbook.
2 Tablespoons shortening
1 1/2 teaspoons salt
2 Tablespoons sugar
1 cup hot milk
1 package (2 1/4 teaspoons) yeast
6 cups of white flour, you may not need that much.

My method obviously varies from the published recipe. I also cut back on the salt. The original recipe calls for 2 1/2 teaspoons. I don't like my bread to taste salty, so I cut out a teaspoon. I also use instant or quick yeast. I buy it in bulk and keep it in the freezer. Instant yeast doesn't need to be proofed in warm water. You just add it in with the flour and add 1/4 cup of warm water into the recipe when adding the milk.
This recipe produces a classic white bread, the sandwich type. Adding shortening to a recipe will soften the bread. If you want a crusty white bread, don't choose a recipe with shortening.
Fill a teakettle and put it on to boil. You will need 1 cup of boiling water to put in the microwave when the dough is rising.
Start by putting the shortening into a glass measuring cup and melting it in the microwave. I melt the shortening before adding the milk because I found this to be quicker. If you add the milk with the shortening, it takes longer for the shortening to melt. I heat the shortening on high for 1 1/2 minutes. I have an old microwave, so it may take less time in yours. Then I pour the milk into the same cup. It looks funny, but that is just the shortening.

Put the milk and shortening back into the microwave for 1 minute. While this heats, measure 3 cups of flour, the sugar, salt and yeast into the mixer or food processor. I'm going to give directions using the mixer, but I'll add food processor directions for mixing and kneading at the end.
Add the 1/4 cup warm water and the milk/shortening mixture into the mixer bowl, fitted with the dough hook. Put the mixer on to medium and let it begin mixing.

Let the mixer run until the flour is incorporated. It will still be very sticky.

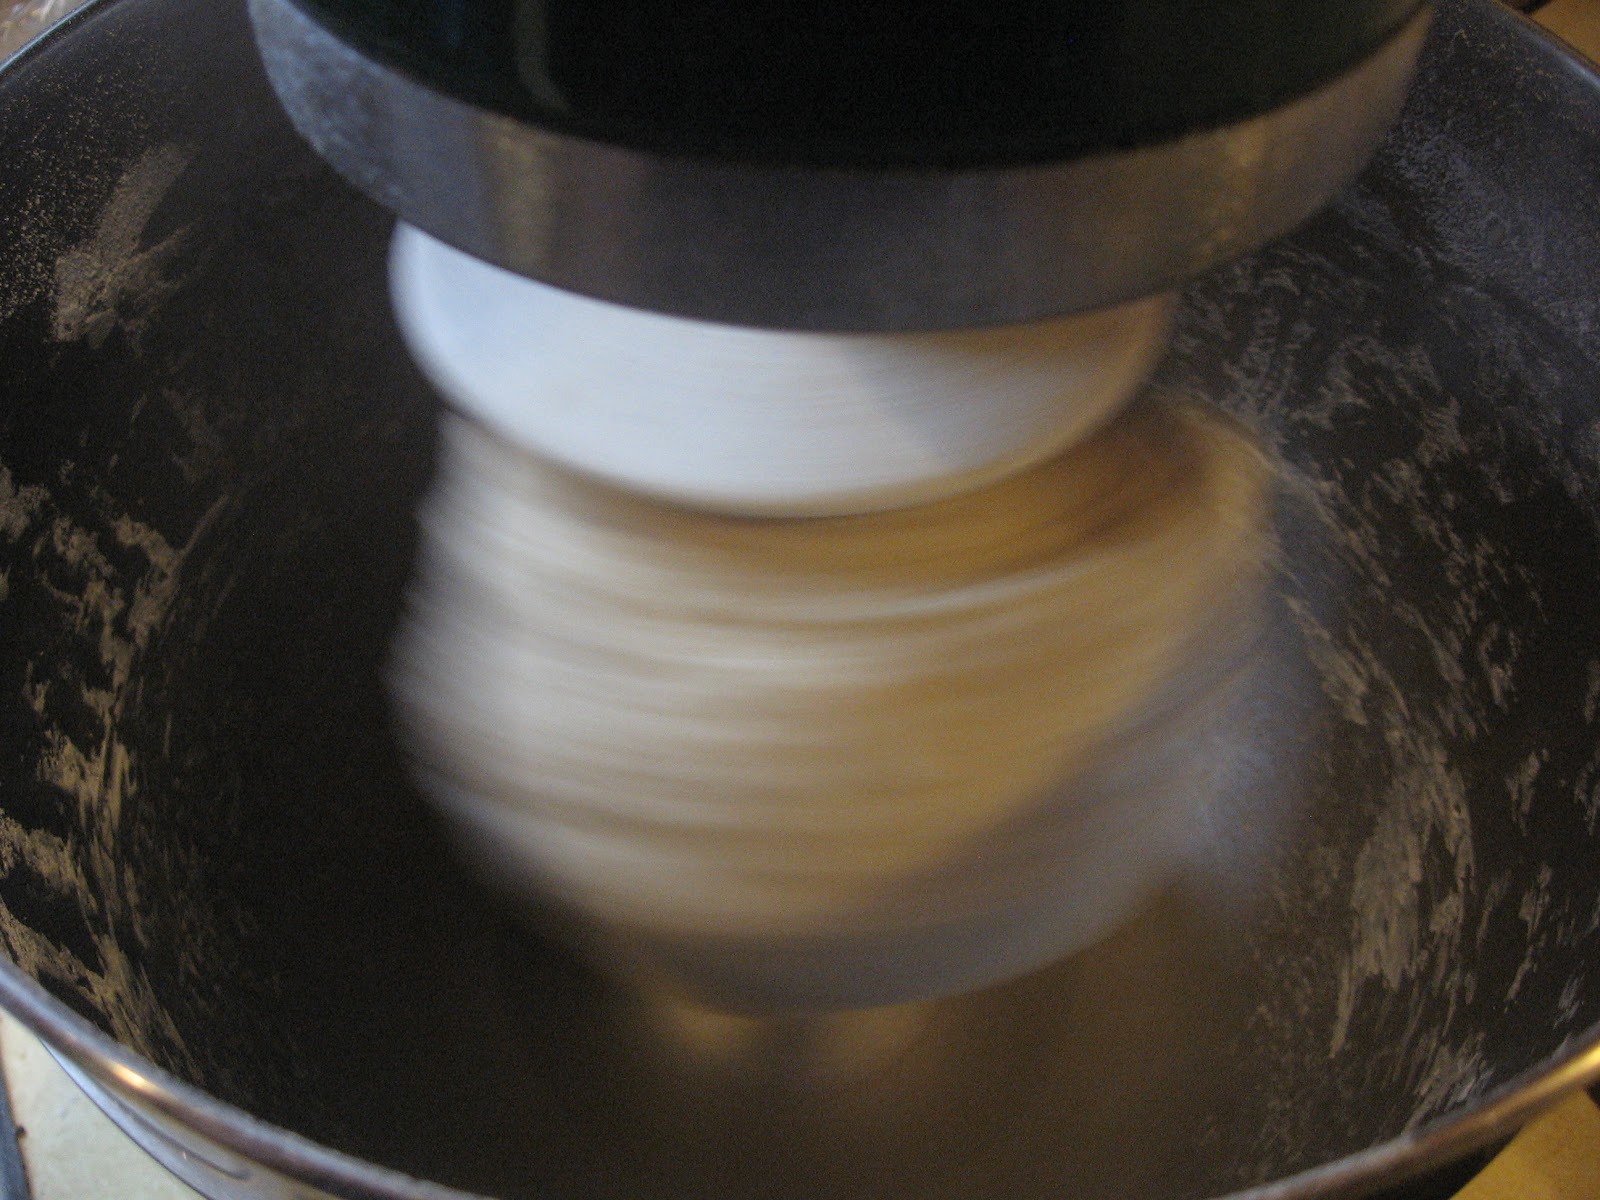
Continue adding additional flour, 2 tablespoons at a time, until the dough isn't sticky. Let the flour mix in all the way before adding more. In this next picture you can see the dough is still sticking to the bottom of the bowl.

When you have added enough flour, the dough won't stick to the bottom of the bowl and it will begin to clean the sides of the bowl.
Let the dough continue to knead for a few more minutes. The total process of mixing and kneading takes about 10 minutes. When the dough is ready it won't stick to your fingers when you touch it and it should feel smooth and elastic.

Put the dough into a microwave safe bowl that has been sprayed with cooking spray. Flip it over once, so both side are coated with oil

Cover the bowl with plastic wrap and put it into the microwave with 1 cup of boiling water. Make sure the water is in a microwave safe cup as well.

Next comes the microwave rising method. It is essential you follow these directions exactly, and that you set the power to 10% or warm. Anything higher than 10%/warm and you will cook the dough.
Set your microwave to cook for 3 minutes on 10% or warm. My microwave is older and only has a warm button. I can't adjust the percentage. Please check your manual if you don't know how to adjust the settings on your microwave
After the 3 minutes are up, leave the door closed and allow the dough to rest for 3 minutes. I set the kitchen timer on the microwave. After the 3 minutes of rest are up, set it to heat for 3 minutes on 10% or warm again.
Leave the door closed and let the dough rest for 6 minutes. That is it. Check the dough by poking it with your finger. If the indentation stays and it looks bigger, it is done. Once in a while I will get a dough that doesn't seem to have risen enough. Usually it is a whole grain dough that does this. I will just set it for 3 minutes on 10% or warm again, and let it sit another 6 minutes. This has always worked for me.
Set your oven to preheat to 375 degrees.
At this point you form your dough into whatever shape you want. I have found my loaves rise more if I pat the dough into a rectangle and roll it up from short end to short end before putting it into a bread pan. I don't know why this works, but it does. You can also just form it into a log and drop it into a bread pan. Then simply repeat the microwave rise method. Remember to cover the dough with plastic again. After the second rise, the dough should look like this.

You can see the dough is above the top of the bread pan. I like to put the silicone bread pan on a cookie sheet. It is just easier to get it out of a hot oven like that. Put the bread into the oven and let it bake for 20 to 30 minutes, until golden brown. If you have a convection oven, it will cook a bit faster.

If you want a nice, soft crust rub the top of the bread with butter while it is hot.

Fresh, homemade, hot bread in just about 1 hour. How can you beat that? Sorry that last picture is a little fuzzy. I was excited and hungry!
If you don't have a mixer or a food processor, you can mix and knead the bread by hand. It will take about 15 minutes to knead it on a floured counter. Add flour a little at a time, until it is smooth and elastic and not sticky.
Here are the directions for mixing and kneading in a food processor:
You want to use cold liquid ingredients instead of warm. This is because of the heat from the processing blade. Put the dough blade into the machine. Add the dry ingredients (3 cups of flour) and pulse to mix. Add the shortening and pulse to cut it into the flour. Add the wet ingredients and mix until the dough comes together. Allow the dough to rest for 15 minutes. After 15 minutes, add 2 Tablespoons of flour and pulse to incorporate. Add more flour and pulse until the dough pulls away from the sides of the bowl and is smooth.
This method takes a few more minutes than the mixer and the dough hook, but it is still quick and easy.
The first few times you make bread this way, it will probably take you a little longer than an hour. As you get familiar with the process, you will speed up. If you love hot, fresh bread this is the way to go. Of course, if you want to make rolls you can form them after the first rise and let them rise on a cookie sheet or a larger pan for 45 minutes to an hour, the traditional way. My microwave isn't large enough for a large pan or cookie sheet to fit in it. Either way, you can have homemade bread just about any time you want it by using the microwave for rising the dough.
nice !!!
ReplyDeleteIf you don't have a mixer or a food processor, add 15 minutes. If you don't have a microwave, add 1 1/2 to 2 hours. The microwave rising method is the big time saver here. silicone brush
ReplyDelete